Process - The venetian plastering technique is a very intricate and time consuming process to achieve and complete correctly. The process involves four main stages which we have described to provide an overview of the time, skill and dedication required to complete each unique polished plaster finish. |
|
| Stage 1- involves applying the base coat of plaster, at this stage the trowel is held at a 15 to 30 degree angle, and the plaster is spread over the desired surface, using random strokes to create a thin layer. The first coat is then left to settle and dry for around 5 hours | 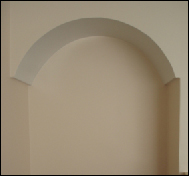 |
| Stage 2 - At this stage a second coat of plaster is applied on top of the first coat.The technique at this point requires the trowel to be held at a 60 to 90 degree angle using both long and short overlapping strokes. After application the second coat should be left to settle for 24 hours. | 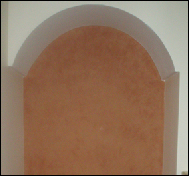 |
| Stage 3 - To provide a shinier and deeper quality finish, a third coat of plaster is applied. The final topcoat makes the surface more durable and reflective. The trowel position at this stage returns to the original position of 15 to 30 degrees. Applying the third coat gives the final finish a deeper depth of colour, and should be left for twenty four hours to settle before burnishing can be applied. | 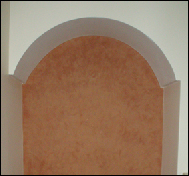 |
| Stage 4 - Stage four is the most time consuming of the process, but once completed creates and achieves the seductive and high quality finish of polished marble. The surface must be rubbed in a circular motion, using approximately four hundred grit sandpaper. Once the desired depth and shine is achieved the surface can be cleaned to remove excess plaster dust. |  |
Copyright 2010 © hs venetian plastering. all rights reserved